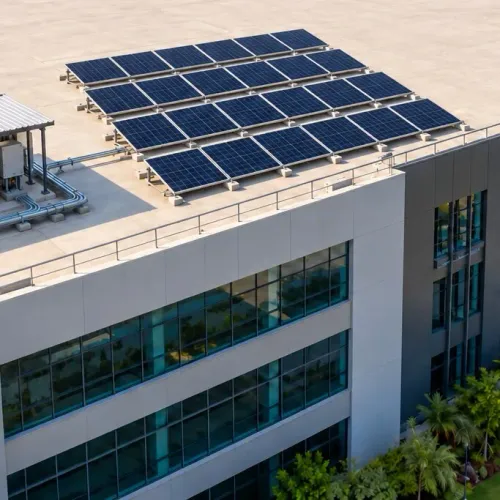
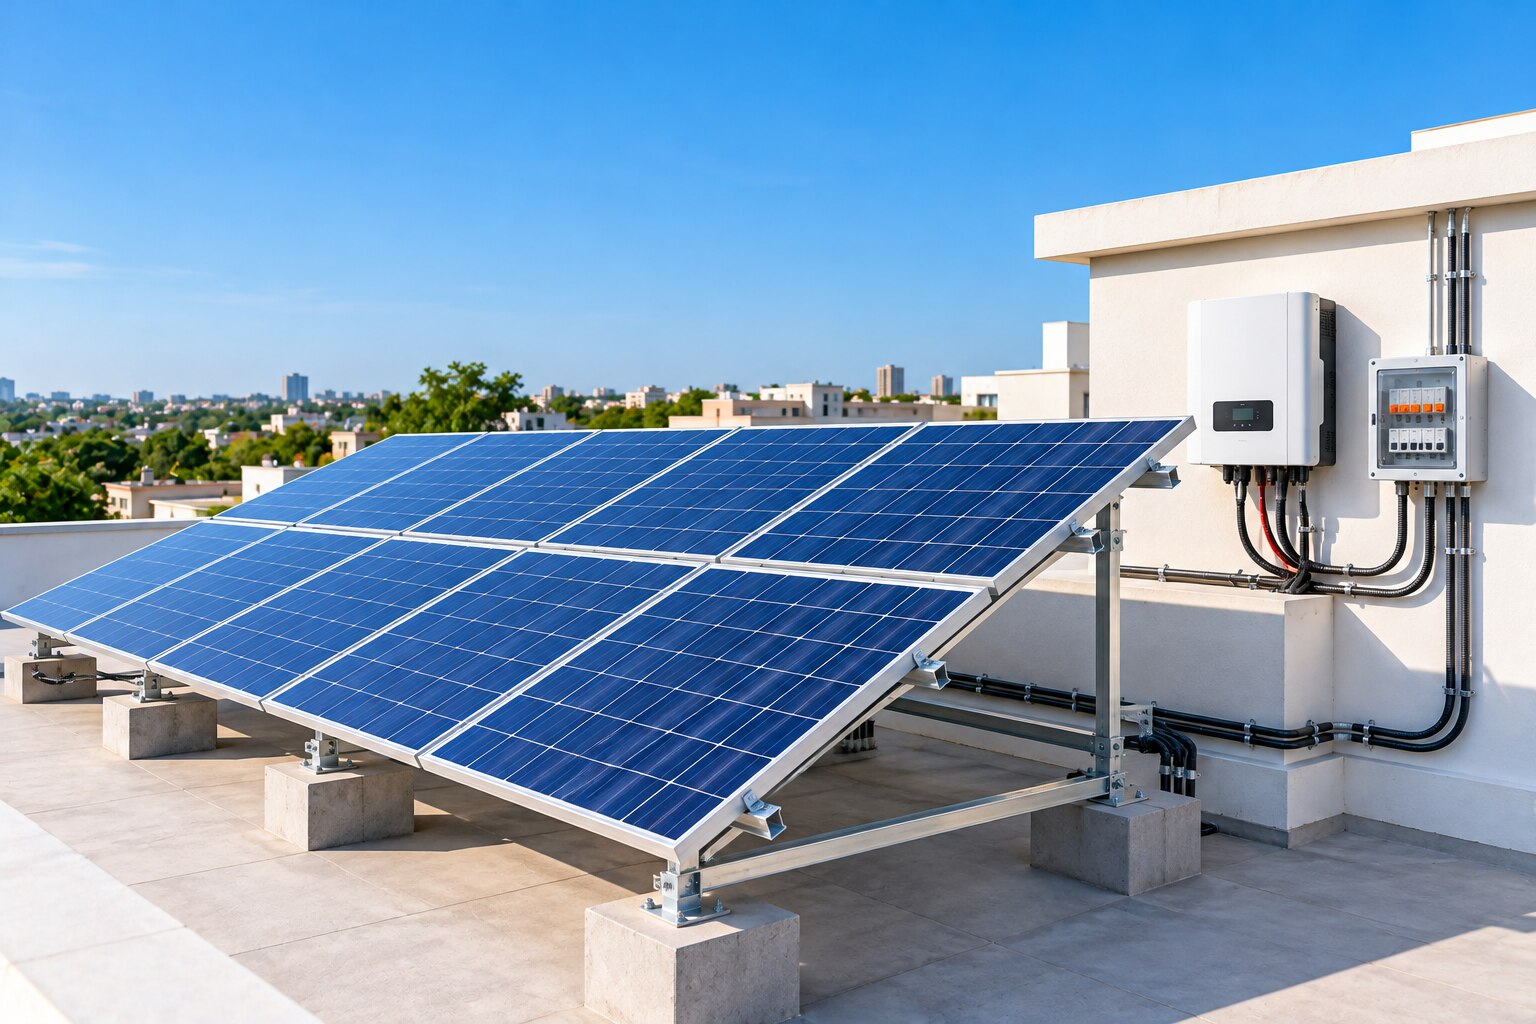
A roof can look spacious and sunlit yet fail on remaining service life, structural capacity, usable area, shading, or electrical connection limits. By checking each of these before requesting a system size, you can identify repair work, design constraints, and the documents a credible installer should provide.
Key takeaways
- Repair or replace a roof before installing panels if its remaining life is short.
- Confirm the roof structure and mounting method can carry wind and solar loads.
- Exclude shaded, obstructed, and setback areas before calculating usable module space.
- Require an itemised quotation covering design, equipment, approvals, installation, and maintenance.
Will the roof remain sound for the life of the solar system?
A roof is ready for solar only when its covering, waterproofing, and structure can remain reliable through the system’s planned life; otherwise, replacement or repairs come first. Roof age and remaining service life matter because removing panels and rails for roof replacement adds cost and creates new leakage risk.
- Inspect for leaks, ponding, blocked drains, damaged tiles, loose metal or asbestos-cement sheets, failed flashing, and movement or sagging.
- Check rust on sheets, fasteners, purlins, brackets, and exposed reinforcement; complete corrosion protection and repair before installation.
- Identify the covering: concrete slab, clay or concrete tile, metal sheet, asbestos-cement, or thatch. Each needs a compatible mounting method; thatch is not a suitable mounting base.
- Confirm that waterproofing details, flashing, sealants, and roof warranties accept the proposed penetrations.
- Have a structural engineer check modules, rails, clamps, walkways, and ballast, plus existing loads, wind uplift, snow, seismic forces, and attachment forces. A visual inspection cannot prove capacity.
Do not accept a design based only on roof photographs. Request the condition report, repair record, structural calculations, attachment and flashing details, and drainage plan. On an old or visibly damaged building, fix the roof before installation—not after panels conceal the defect.
Can the roof and mounting method carry the system safely?
The roof material determines how the system transfers weight, wind uplift, and attachment forces into the building. Check the modules, rails, clamps, walkways, inverter equipment, and ballast against the roof’s existing loads, plus wind, snow, seismic effects, and the locally adopted building code.
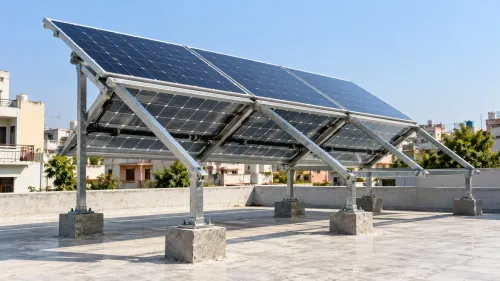
- Reinforced concrete slab: use engineered anchors into sound concrete or a ballasted frame. Ballast avoids penetrations but adds concentrated and distributed weight, so verify slab, beams, friction, and wind uplift.
- Clay tiles: use tile-compatible hooks or brackets fixed to rafters; never rely on the tiles themselves. Replace cracked tiles and fit flashing around every penetration.
- Concrete tiles: use hooks or tile-replacement mounts attached to structural members, with enough clearance to prevent tile breakage under rail or clamp pressure.
- Metal sheets: use approved standing-seam clamps where seams permit, or fasteners that reach purlins or rafters. Screwing only into thin sheet or roof sheathing can loosen under wind and leak.
A visual inspection cannot prove capacity. Ask for the mounting design, attachment locations, rail spacing, ballast calculations, and structural review, especially on older, altered, corroded, or visibly deflected buildings. Sealants alone do not make an attachment safe; flashing and the roofing manufacturer’s fastening method must preserve the waterproof layer.
How much roof area is actually available for modules?
Measure each roof plane, then subtract every area where a module cannot be installed, accessed, or safely maintained. Usable roof area is not the building’s floor area: record the length and width of each plane, account for its shape, and place modules using their actual dimensions and required gaps.
Deduct these areas from the gross roof-plane area:
- Fixed obstructions: parapet walls, water tanks, stairwell rooms and lift rooms, vents, chimneys, skylights, plumbing stacks, and solar water heaters.
- Safety clearances around roof edges, ridges, hips, valleys, obstructions, and fragile roof sections. Use the locally adopted fire and building codes; there is no universal percentage to reserve.
- Maintenance routes from the roof access point to equipment, between module groups where required, and around inverters or other serviceable components.
- Shaded or unusable strips where a parapet, adjacent building, or rooftop equipment blocks sunlight for part of the day.
A scaled roof plan gives the reliable result. Draw each obstruction and clearance on the plan, fit the chosen module size in rows, and count only modules that remain reachable without stepping on panels. A roof can have ample open space yet produce a small viable layout after access routes and code clearances are included.
Will sunlight, shade, orientation, and tilt produce enough energy?
Enough energy comes from the roof’s unshaded solar hours, not its total area. Check direct sunlight in the morning, around solar noon, and late afternoon, then repeat the observation in summer and winter. Tree shading, neighbouring buildings, poles, parapets, vents and skylights can create losses that a midday photograph misses.
- Mark every shaded section on a roof plan and record the obstruction’s height and distance. A tall tree can cast a long winter shadow after its leaves fall.
- Measure each roof plane’s compass direction and tilt. Do not assume the building faces the direction of its largest wall.
- Test the proposed module layout against shade at different hours and seasons. Shade crossing one module or string can reduce the output of connected modules.
- Size the system from the modeled annual energy yield after exclusions, not from the maximum number of modules that physically fit.
| Roof condition | Energy and layout effect | Sizing decision |
|---|---|---|
| South-facing, suitable tilt | Highest annual production in the Northern Hemisphere | Use as the primary plane |
| East- or west-facing | Useful morning or afternoon production, with lower annual yield than ideal south | Compare modeled yield before rejecting |
| Mixed directions or persistent shade | Uneven production and greater string-matching difficulty | Separate roof planes or reduce capacity |
Tilt matters, but a larger unshaded east- or west-facing area can outperform a small, perfectly tilted shaded plane. Request the shade study and hourly or monthly production estimate before approving the system size.
Can the building’s electrical system accept the solar output?
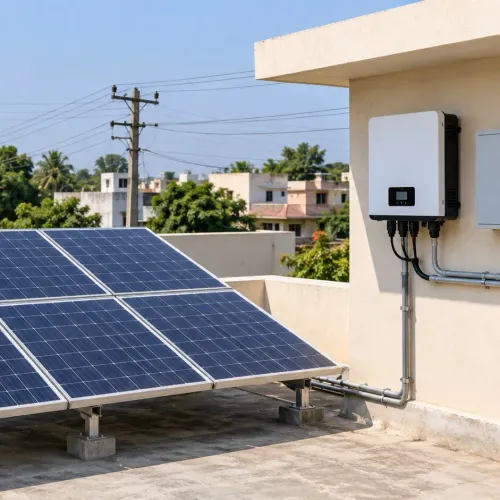
A roof can hold more panels than the building’s electrical system can safely accept. Set the practical size only after checking the main distribution board, service rating, busbar capacity, phase configuration, available fault current, and the inverter’s maximum AC output.
Complete these checks before finalising the design:
- Match inverter output and prospective short-circuit current to the service rating and board interrupting capacity. An undersized busbar or low-rated breaker can require a main-panel upgrade.
- Verify conductor ampacity for the expected current, installation temperature, cable length, and voltage drop. Specify correctly rated AC and DC isolators, overcurrent protection, and accessible emergency disconnects.
- Inspect earthing and bonding from the array and inverter to the building’s earth electrode. Test continuity rather than relying on visible wires.
- Coordinate lightning protection, surge protective devices, cable routing, and separation distances. A PV system must not create a new path that worsens lightning damage.
- Obtain the utility’s written requirements for net metering or export limits, anti-islanding protection, approved inverter models, application documents, inspection, and meter replacement.
| Check | What to verify | Result if inadequate |
|---|---|---|
| Single-phase supply | Service and inverter current | Reduce output or upgrade supply |
| Three-phase supply | Phase balance and connection approval | Reconfigure inverter or limit export |
| Utility connection | Export limit and protection settings | Obtain approval before energising |
A system that fails any check is not yet a usable roof capacity figure.
What should a complete solar roof assessment and quotation include?
Do not accept a quotation based only on roof photographs or a satellite image. Request a dated site report, scaled roof layout, and calculations showing how the proposed system is safe, permitted, maintainable, and correctly sized.
- A roof-condition record showing roof material, leaks, corrosion, damaged tiles or sheets, remaining service life, and locations of tanks, vents, skylights, parapets, and access routes.
- A structural engineer assessment or signed structural calculations covering existing building loads plus modules, rails, clamps, walkways, ballast, wind uplift, snow, seismic effects, and attachment forces.
- A module layout with dimensions, edge and ridge clearances, firefighter pathways, mounting details, equipment locations, and a shade analysis showing seasonal shading assumptions and expected annual generation.
- An electrical design stating main-service rating, busbar capacity, fault-current rating, grounding and bonding, conductor sizes, inverter output, disconnect locations, and whether a panel or service upgrade is needed.
- A permit and connection plan identifying the local building and fire codes, required drawings, inspection stages, and utility interconnection requirements. Ask whether grid failure shuts the system down and what equipment is required for backup power.
- A quotation listing equipment models, warranties, installation exclusions, monitoring, inspection access, cleaning, repair response, and future maintenance responsibilities.
Nature Tek Solar Pvt Ltd should provide these documents before installation, not replace them with a promised site visit.
Related products
 | Services Our Solar Rooftop Systems are tailored for residential, commercial, and industrial buildings. View product → |
 | Operation & Maintenance Services for Rooftops Ensuring the longevity and performance of an installation is crucial. View product → |
Frequently asked questions
How do you know whether a roof is suitable for solar?
Check the roof covering, waterproofing, structural condition, remaining service life, available area, sunlight exposure, orientation, tilt, and electrical system capacity.
Can a roof carry solar panels and mounting hardware safely?
A structural assessment must account for the modules, rails, fasteners, ballast, wind uplift, dead load, and the roof’s existing condition.
How much roof area is available for solar panels?
Measure the roof, then subtract spaces blocked by tanks, vents, skylights, parapets, access paths, fire clearances, shade, and required setbacks.
What should a solar roof quotation include?
Request the system size, module and inverter specifications, mounting design, electrical work, warranties, approvals, installation scope, monitoring, maintenance, and all exclusions.